How to Clean Your Stovetop: The Ultimate Pro Guide
Cleaning your stovetop is an essential task that not only keeps your kitchen looking pristine but also ensures the longevity and efficiency of your cooking appliances. Whether you’re a seasoned home chef or just starting out, knowing how to clean your stovetop properly can make a world of difference. In this ultimate pro guide, we will walk you through the step-by-step process of stovetop cleaning, providing you with expert tips and tricks along the way.
Why Regular Stovetop Cleaning is Important
Before we dive into the nitty-gritty of stovetop cleaning, let’s understand why it’s crucial to make this a regular part of your cleaning routine. Over time, cooking spills, grease, and food residue can accumulate on your stovetop surface, leading to a range of issues:
- Fire hazards: Grease buildup can increase the risk of fire, especially if it comes into contact with an open flame.
- Reduced efficiency: A dirty stovetop can affect the heat distribution, making it harder to cook your favorite meals evenly.
- Unpleasant odors: Lingering food smells can be a nuisance and affect the overall ambiance of your kitchen.
- Stains and discoloration: Neglecting regular cleaning can result in stubborn stains and discoloration, which are difficult to remove.
Now that we understand the importance of stovetop cleaning, let’s get into the step-by-step process.
Step 1: Gather Your Cleaning Supplies
To ensure a successful stovetop cleaning session, it is important to have all the necessary supplies on hand. Here is a list of essential items you will need:
- Mild dish soap or a specialized stovetop cleaner: These cleaning agents will help remove grease and grime effectively.
- Microfiber cloth or sponge: These tools are gentle on the stovetop surface and provide effective cleaning without scratching.
- Scrub brush or toothbrush: These brushes are useful for tackling stubborn stains or hard-to-reach areas.
- Baking soda: A natural and effective cleaning agent that helps remove tough stains and odors.
- White vinegar: This natural cleaning solution helps to polish and shine the stovetop surface.
- Paper towels: These are handy for wiping away excess moisture and achieving a streak-free finish.
Having these supplies ready will make the stovetop cleaning process more efficient and ensure a thorough and effective clean.
Step 2: Prepare the Stovetop Surface
Before diving into the cleaning process, it’s important to remove any loose debris from the stovetop surface. Here are a few examples of what you should look out for:
- Crumbs from bread, cookies, or other baked goods.
- Food particles from spills or cooking mishaps.
- Grease or oil splatters.
- Dust or lint that may have accumulated.
To effectively remove these debris, take a dry cloth or paper towel and gently wipe the stovetop surface. This initial step will ensure that the cleaning process is more effective, as it allows you to focus on the deeper cleaning without any loose dirt getting in the way.
Step 3: Soak the Burner Grates and Drip Pans
Soaking the burner grates and drip pans is an important step in stovetop cleaning. Here are a few reasons why it’s important:
- Loosens stubborn grease: Soaking the burner grates and drip pans in warm, soapy water helps to loosen and break down stubborn grease and food residue that may have accumulated over time.
- Easier cleaning: By soaking the grates and pans, it becomes easier to remove any stuck-on grime or residue, saving you time and effort during the cleaning process.
- Preserves the stovetop surface: Soaking the grates and pans helps to prevent scratching or damaging the stovetop surface while cleaning. It allows for a gentler cleaning process.
- Improves efficiency: Soaking the grates and pans helps to restore their functionality by removing any buildup that may hinder the proper flow of heat during cooking.
To ensure effective cleaning, remove the burner grates and drip pans from your stovetop and place them in a container filled with warm, soapy water. Let them soak for about 15-20 minutes while you proceed with the next steps of cleaning.
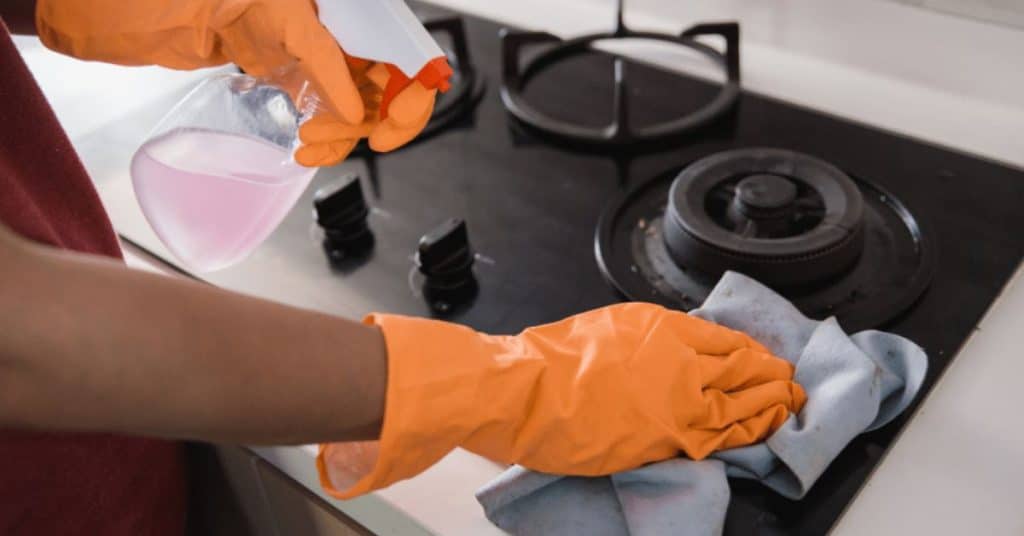
Step 4: Clean the Stovetop Surface
Now, it’s time to tackle the stovetop surface itself. Depending on the material of your stovetop (glass, ceramic, or stainless steel), you’ll need to choose an appropriate cleaning method:
- Glass stovetops: Apply a few drops of mild dish soap or a specialized glass stovetop cleaner to the surface. Gently scrub using a microfiber cloth or sponge in circular motions. Rinse with clean water and wipe dry with a paper towel.
- Ceramic stovetops: Sprinkle baking soda generously over the surface. Moisten a cloth or sponge with water and scrub the stovetop in circular motions. Rinse with clean water and wipe dry with a paper towel.
- Stainless steel stovetops: Create a paste using baking soda and water. Apply the paste to the stovetop and scrub gently with a cloth or sponge. Rinse with clean water and wipe dry with a paper towel.
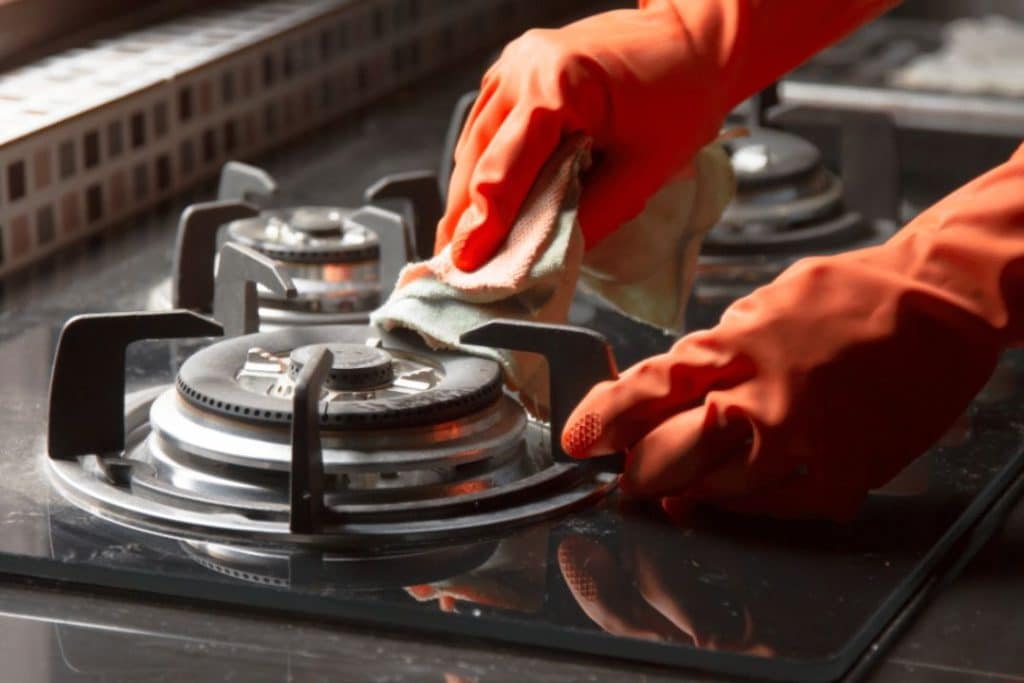
Step 5: Clean the Burner Grates and Drip Pans
Using a scrub brush or toothbrush to clean the burner grates and drip pans is crucial for achieving a thorough and effective clean. Here are a few reasons why it’s important:
- Removes stubborn residue: A scrub brush or toothbrush allows you to scrub away any remaining residue or stuck-on grime that may not have been fully removed during the soaking process.
- Reaches difficult areas: The bristles of a scrub brush or toothbrush can reach into crevices and corners, ensuring that every part of the burner grates and drip pans is properly cleaned.
- Restores functionality: By removing built-up residue, a scrub brush or toothbrush helps to restore the proper functioning of the burner grates and drip pans, ensuring even heat distribution during cooking.
- Prevents future buildup: Regularly using a scrub brush or toothbrush to clean the burner grates and drip pans helps to prevent future buildup, making future cleaning tasks easier and more efficient.
After soaking the burner grates and drip pans, take a scrub brush or toothbrush and scrub them to remove any remaining residue. Rinse them thoroughly with water to ensure all cleaning agents are removed, and then dry them before placing them back on the stovetop. This step will leave your burner grates and drip pans clean, shiny, and ready for use.
Step 6: Polish and Shine
Using white vinegar to polish and shine your stovetop offers several benefits. Here are a few reasons why it’s important:
- Removes streaks and smudges: White vinegar is effective in removing streaks and smudges that may be left behind after cleaning. It helps to achieve a clean and polished surface.
- Natural cleaning agent: White vinegar is a natural and eco-friendly cleaning solution, making it a safe choice for use in your kitchen.
- Disinfects and deodorizes: White vinegar has disinfecting properties that can help kill bacteria and germs on the stovetop surface. Additionally, it helps to neutralize odors, leaving your kitchen smelling fresh.
- Safe for various stovetop surfaces: White vinegar is safe to use on a variety of stovetop surfaces, including glass, ceramic, and stainless steel.
To polish and shine your stovetop, dampen a cloth with white vinegar and gently wipe the stovetop surface. This will help remove any streaks or smudges, leaving your stovetop looking clean and brand new.
Step 7: Maintain Regular Cleaning
Now that you’ve successfully cleaned your stovetop, it’s important to maintain regular cleaning to prevent buildup and ensure its longevity. Here are a few tips to keep in mind:
- Wipe spills and splatters immediately after cooking.
- Use a stovetop cleaner or mild dish soap regularly to prevent stubborn stains.
- Avoid using abrasive cleaners or scrub brushes that can damage the surface.
- Clean burner grates and drip pans regularly to prevent grease buildup.
By following these simple steps and incorporating regular cleaning into your routine, you can keep your stovetop looking and performing its best for years to come.
Remember, a clean stovetop not only enhances the overall appearance of your kitchen but also promotes a safe and efficient cooking environment. So, don’t neglect this essential task and enjoy the benefits of a sparkling clean stovetop!
About The Author
Ruby Red Cleaning, a proudly woman-owned and operated house cleaning service serving the Orlando metro area. With over 18 years of experience, Ruby Red Cleaning is your trusted choice for house cleaning and maid services in Orlando and surrounding areas. Our team offers a variety of services tailored to meet your residential needs, including recurring maid services, deep house cleaning, and move-in/out cleaning. Committed to sustainability, we utilize natural and eco-friendly cleaning products, ensuring a healthier home environment. Plus, with our customer satisfaction guarantee, you can trust us to deliver exceptional results every time. If you’re in the area, don’t hesitate to request a free quote today and experience the Ruby Red Cleaning difference.
Find us easily on Google Maps!
Quote Form
← Next Blog Post: Seasonal Cleaning: Preparing Your Home For Summer